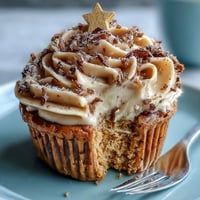
 Save to Pinterest
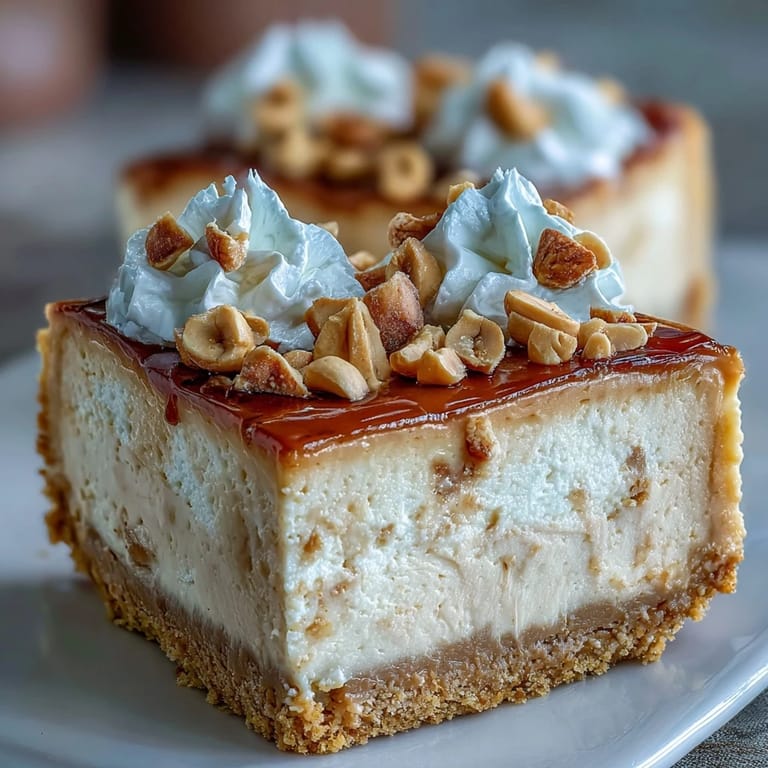
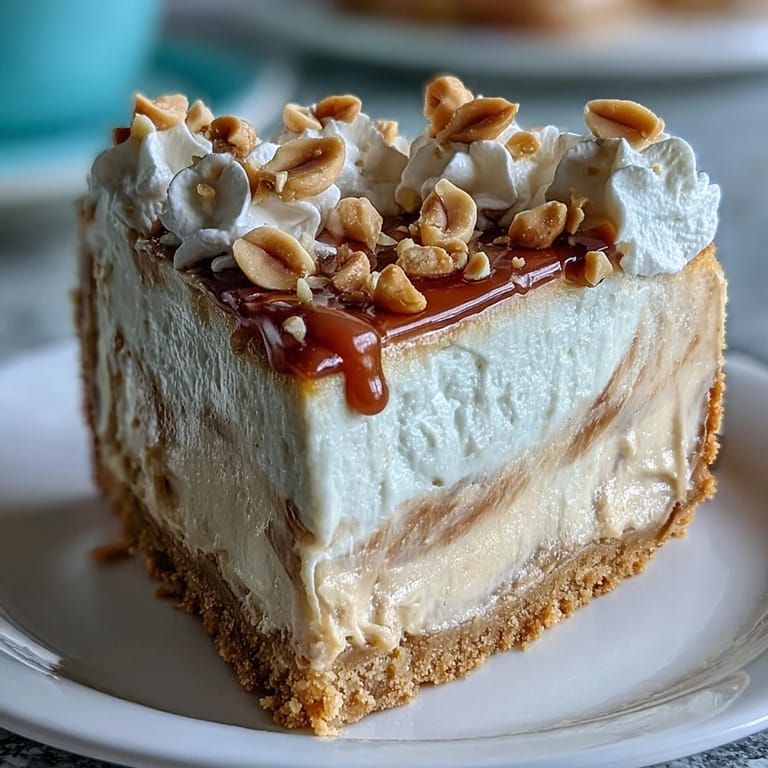
 The first time I pulled a Nutter Butter Cheesecake from my oven, I knew I'd created something dangerous. The kitchen filled with that unmistakable roasted peanut aroma mingling with the buttery richness of baking cream cheese. My husband wandered in from the garage, following his nose like a cartoon character floating on scent waves. We stood there watching it cool, both knowing we'd be sneaking slices well before the recommended chilling time.
Last summer during our family reunion, my cousin Michelle who normally turns her nose up at anything involving peanut butter tried this cheesecake on a dare. I caught her later in the kitchen, fork in hand, stealing bites directly from the serving platter. She made me promise not to tell anyone but then demanded the recipe before heading home. Now its become her signature contribution to their neighborhood block parties.
Ingredients
- Nutter Butter cookies: Dont substitute another cookie here, theres something about the unique filling in these that creates the perfect crust consistency, plus it reinforces that peanut butter flavor throughout every bite.
- Cream cheese: Full-fat is non-negotiable for that velvety richness, and I found out the hard way that cold cream cheese leads to lumps that never fully incorporate.
- Peanut butter: I stick with creamy commercial brands like Jif or Skippy since natural peanut butter can separate and affect the texture.
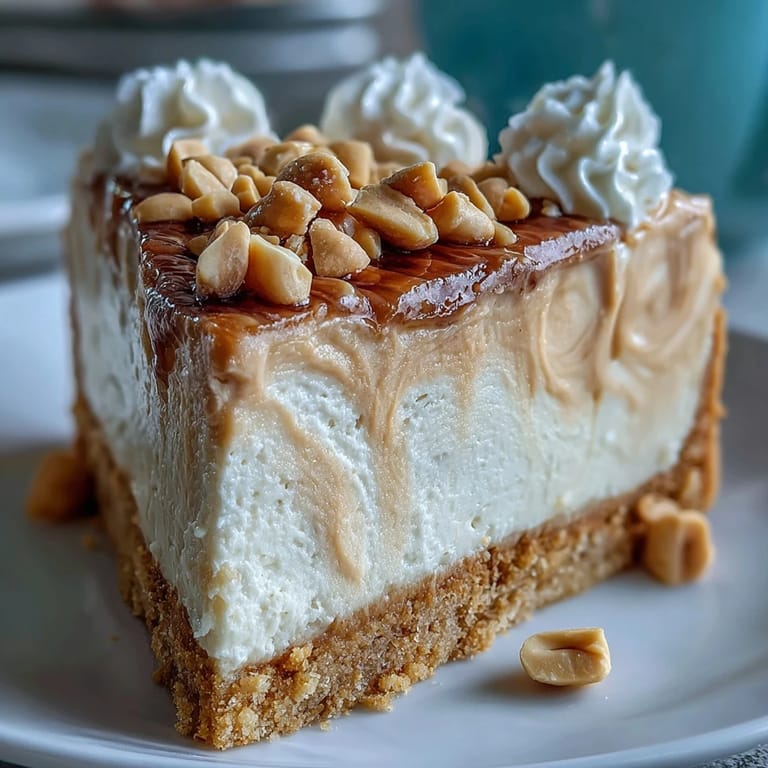
- Heavy whipping cream: The higher the fat content, the more stable your whipped topping will be, allowing those decorative swirls to hold their shape for hours.
Tired of Takeout? 🥡
Get 10 meals you can make faster than delivery arrives. Seriously.
One email. No spam. Unsubscribe anytime.
Instructions
- Prepare that perfect crust:
- Pulse those Nutter Butters until they resemble coarse sand, making sure the cream filling gets fully incorporated. When you mix in the melted butter, it should feel like wet sand that clumps when pressed between your fingers.
- Create the silky base:
- Beat the cream cheese and sugar until the mixture lightens in both color and texture, usually about 3 minutes. Youll know its ready when it starts to look fluffy rather than dense.
- Add the peanut butter magic:
- When folding in the peanut butter, take your time to ensure its fully incorporated without overmixing. The color should be uniform with no streaks hiding in the mixture.
- Master the egg integration:
- Add eggs one at a time on low speed, just until the yellow disappears. This gentle approach prevents too much air from getting trapped in the batter which can cause cracks later.
- Perfect your bake:
- Look for that slight jiggle in the center while the edges appear set. If you wait until the entire surface is firm, youve gone too far and might end up with a dry texture.
- The cooling choreography:
- The gradual cooling process is as important as the baking itself. That hour in the cracked-open oven prevents the dramatic temperature change that leads to the Grand Canyon of cheesecake cracks.
- Whip up cloud-like topping:
- When beating the cream, start on low then gradually increase to high speed. Stop the moment you see stiff peaks that hold their shape when you lift the beaters.
 Save to Pinterest
 My neighbor Tom claimed he didnt like cheesecake until I left this on his porch as a thank-you for watching our cats. Two days later, he sheepishly returned the empty springform pan with a note that read, I think Ive been eating the wrong cheesecakes my entire life. Now its our tradition that I make this every year for his birthday, and he pretends to be surprised each time.
The Secret to Perfect Texture
Over the years, Ive discovered that the temperature of your ingredients dramatically affects the final texture. Everything should be at room temperature before mixing, even the eggs. On rushed mornings when I forget to take things out early, I place the cream cheese blocks in sealed bags and submerge them in warm water for about 15 minutes. This little hack has saved many last-minute dessert plans from disaster.
Serving Suggestions
While this cheesecake is certainly decadent on its own, Ive experimented with various toppings that take it to new heights. A warm drizzle of chocolate ganache creates this incredible hot-cold contrast when served immediately. My teenage daughter prefers hers with a spoonful of strawberry compote, which cuts through the richness with a bright tang. During fall gatherings, I sometimes add a caramel sauce infused with a tiny pinch of sea salt that makes the peanut butter flavor pop even more intensely.
Storage and Make-Ahead Tips
This cheesecake actually improves after a night in the refrigerator as the flavors meld and the texture sets perfectly. Ive found it keeps beautifully for up to five days covered in the fridge, though it rarely survives that long in our house. For special occasions, I often make it two days ahead which takes pressure off my day-of preparation schedule and results in an even better dessert.
- If you need to freeze portions, wrap individual slices tightly in plastic wrap then foil and consume within a month for best quality.
- Always add the whipped topping just before serving rather than before storing to maintain that light, airy texture.
- Let frozen slices thaw overnight in the refrigerator rather than at room temperature for the most consistent texture restoration.
 Save to Pinterest
 This Nutter Butter Cheesecake has become more than just a recipe in our family cookbook its the dessert that marks celebrations and creates moments of pure joy around our table. Whether youre a dedicated peanut butter enthusiast or simply appreciate a well-crafted cheesecake, I hope it brings the same smiles to your home that it has to mine.
Common Recipe Questions
- → Can I make this cheesecake ahead of time?
Yes, this cheesecake actually improves when made a day ahead. The flavors have time to meld together, creating a more harmonious taste profile. Simply prepare as directed, refrigerate overnight, and add the whipped topping just before serving.
- → Why did my cheesecake crack?
Cracks typically occur from overmixing the batter or cooling too rapidly. Always mix eggs on low speed just until combined, and follow the gradual cooling method of cracking the oven door for one hour before refrigerating.
- → Can I substitute the Nutter Butter cookies?
While Nutter Butter cookies provide the authentic peanut butter flavor, you could use vanilla wafers or graham crackers with 2 tablespoons of peanut butter added to the crust mixture for similar results.
- → Do I need a water bath?
A water bath isn't strictly necessary but produces a creamier texture and minimizes cracking. If using one, wrap your springform pan tightly in foil and place it in a roasting pan filled with hot water halfway up the sides.
- → How should I store leftovers?
Store any remaining cheesecake in the refrigerator, covered with plastic wrap or in an airtight container. It will keep well for up to 5 days, though the whipped topping may start to weep after 2-3 days.