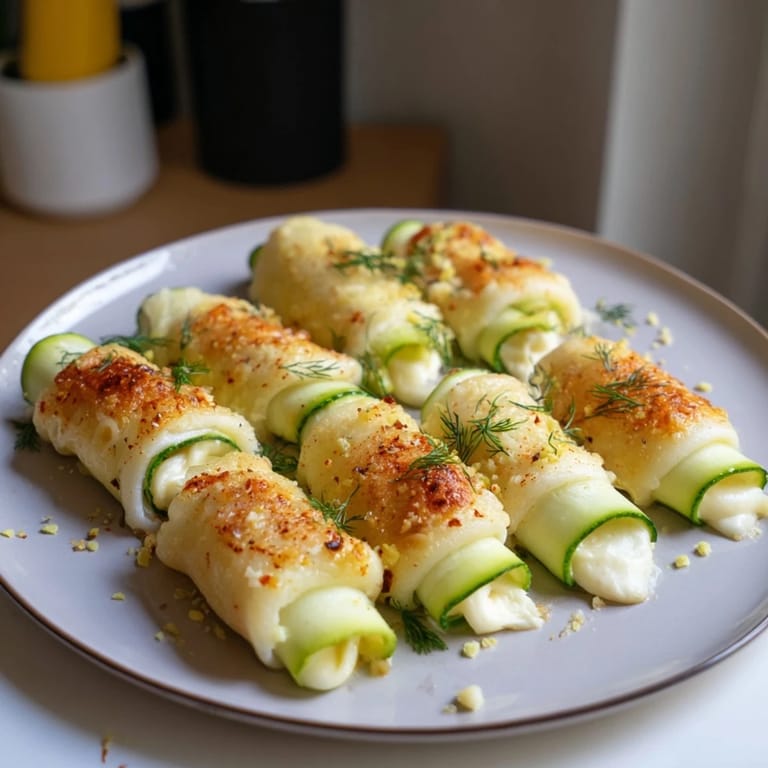
 Save to Pinterest
 I stumbled on this idea during a late-night fridge raid when all I had were pickles and a block of cheese. The sizzle of melted cheese hitting the hot pan filled the kitchen with that unmistakable toasted-dairy smell. I rolled a pickle inside just to see what would happen, and the contrast of tangy crunch against gooey, crispy cheese was instantly addicting. My partner wandered in, tried one, and we ended up making a second batch before midnight. Now it's our go-to when we need something salty and satisfying in minutes.
The first time I brought these to a party, people were skeptical until they tasted one. Then the whole plate vanished in minutes, and I had three friends texting me the next day asking for the recipe. One even admitted she made them for breakfast with pepper jack and loved the spicy kick. It's funny how something so simple can turn into a conversation starter and a crowd favorite.
Ingredients
- Mozzarella or cheddar cheese slices: Mozzarella melts beautifully and stretches, while cheddar gives you a sharper, richer flavor and crisps up nicely. I like using pre-sliced cheese for convenience, but cutting your own from a block works just as well if you keep the slices about twenty grams each.
- Dill pickle spears: These bring the tangy, briny punch that balances the richness of the cheese. Make sure they are very dry before you start, or the moisture will prevent the cheese from crisping properly and make the rolls soggy.
- Fresh dill: A sprinkle of this adds a bright, herby note that complements the pickles perfectly. It is optional, but I always keep some on hand because it makes the rolls feel more intentional and fresh.
- Garlic powder: Just a pinch gives the cheese a subtle savory depth without overpowering the pickle flavor. I dust it on while the rolls are still warm so it sticks to the crispy cheese.
- Smoked paprika: This adds a hint of smoky sweetness and a beautiful color. It is my secret for making these look and taste more interesting without any extra effort.
- Unsalted butter or neutral oil: A little fat in the pan helps the cheese develop those golden, lacy edges. I prefer butter for the flavor, but oil works great if you want to keep things lighter or dairy-free on the cooking side.
Tired of Takeout? 🥡
Get 10 meals you can make faster than delivery arrives. Seriously.
One email. No spam. Unsubscribe anytime.
Instructions
- Dry the pickles thoroughly:
- Lay the pickle spears on a few layers of paper towels and press gently to absorb as much moisture as possible. This step is crucial because wet pickles will steam the cheese instead of letting it crisp up into that golden, crackly shell you want.
- Heat your skillet:
- Set a large nonstick skillet over medium heat and let it warm up for a minute or two. You want it hot enough to melt the cheese quickly but not so hot that it burns before you can roll the pickle.
- Melt the cheese:
- Place one slice of cheese flat in the skillet and watch it bubble and spread. Wait until the edges turn golden brown and start to look lacy, which takes about one to two minutes depending on your heat.
- Roll the pickle:
- Set a pickle spear on one edge of the melted cheese, then use a spatula to lift and wrap the cheese around it, rolling tightly into a cylinder. Work quickly while the cheese is still pliable, and don't worry if it is not perfect, the crispy bits are delicious no matter what.
- Remove and repeat:
- Transfer the finished roll to a plate and start the next one. You will get faster with each roll as you learn how your pan behaves and how the cheese melts.
- Season and serve:
- While the rolls are still warm, sprinkle them with fresh dill, garlic powder, or smoked paprika if you like. Serve them right away when the cheese is crispy and the inside is still warm and gooey.
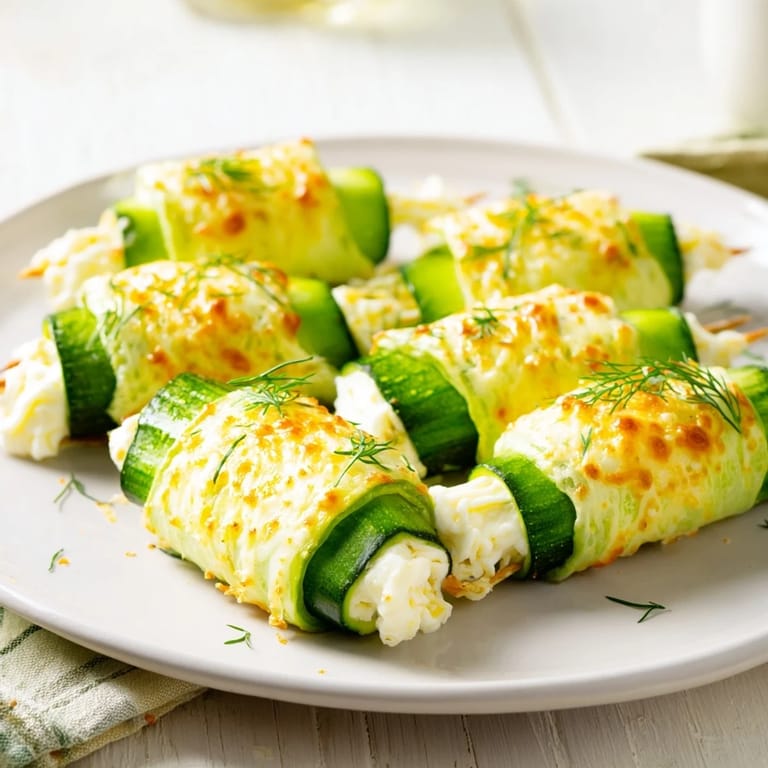 Save to Pinterest
 One evening my neighbor stopped by just as I was pulling a batch off the stove. She popped one in her mouth, closed her eyes, and said it reminded her of the fried cheese snacks her grandmother used to make. We ended up sitting at the kitchen counter, making another round together and talking about how the simplest foods always seem to carry the best memories. That night turned into one of those unplanned, wonderful moments that food has a way of creating.
Choosing Your Cheese
Mozzarella is mild and melts into a stretchy, gooey wrap, while cheddar crisps up beautifully and has a sharper bite. I have also tried pepper jack for a spicy kick and smoked gouda for a deeper, almost bacon-like flavor. Each cheese changes the personality of the roll, so don't be afraid to experiment with whatever you have in the fridge. Just make sure it is a cheese that melts well, because harder aged cheeses can be tricky to roll.
Serving Suggestions
These rolls are fantastic on their own, but dipping them in spicy mustard or ranch takes them to another level. I have also served them alongside a charcuterie board, and they fit right in with crackers, olives, and sliced meats. For a heartier snack, tuck a slice of ham or turkey inside the cheese before rolling, which turns them into little handheld protein bites. They are also great as a keto-friendly appetizer at parties, and nobody ever guesses how easy they are to make.
Storage and Reheating
Honestly, these are best eaten fresh, but if you have leftovers, store them in an airtight container in the fridge for up to two days. To reheat, place them in a dry skillet over medium heat for a minute or two to crisp them back up, microwaving will make them rubbery and sad. I have also had success reheating them in a toaster oven at 350 degrees for about five minutes.
- Let them cool completely before storing to prevent condensation and sogginess.
- Separate layers with parchment paper if stacking to keep the cheese from sticking together.
- Reheat only what you plan to eat right away, they don't crisp up as well the second time around.
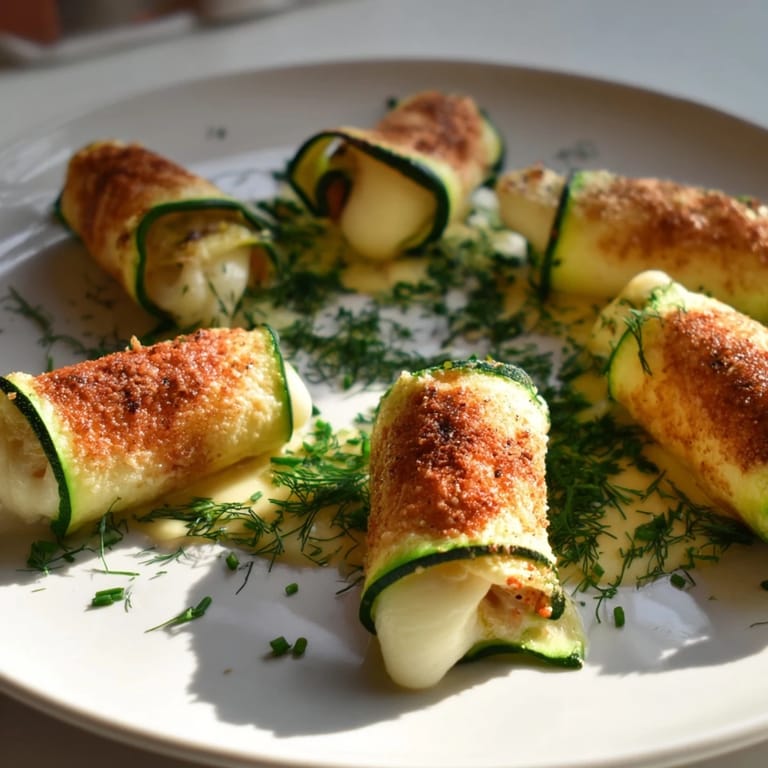 Save to Pinterest
 Every time I make these, I am reminded that some of the best recipes are the ones you never planned. I hope these crispy, tangy little rolls become a staple in your kitchen too.
Common Recipe Questions
- → What cheese works best for these rolls?
Mozzarella or cheddar are ideal for melting smoothly, but pepper jack or smoked gouda can add exciting flavors.
- → How can I ensure the rolls stay crispy?
Make sure the pickle spears are thoroughly dried before rolling to prevent sogginess and keep the exterior crisp.
- → Can I add extra flavors to the cheese layer?
Yes, sprinkle fresh dill, garlic powder, or smoked paprika on the melted cheese for an enhanced flavor profile.
- → What sides pair well with these cheese and pickle rolls?
Spicy mustard, ranch dressing, or other dipping sauces complement the savory and tangy notes perfectly.
- → Is it possible to include meat in the rolls?
For a heartier bite, add a slice of ham or turkey inside each roll before cooking.