 Save to Pinterest
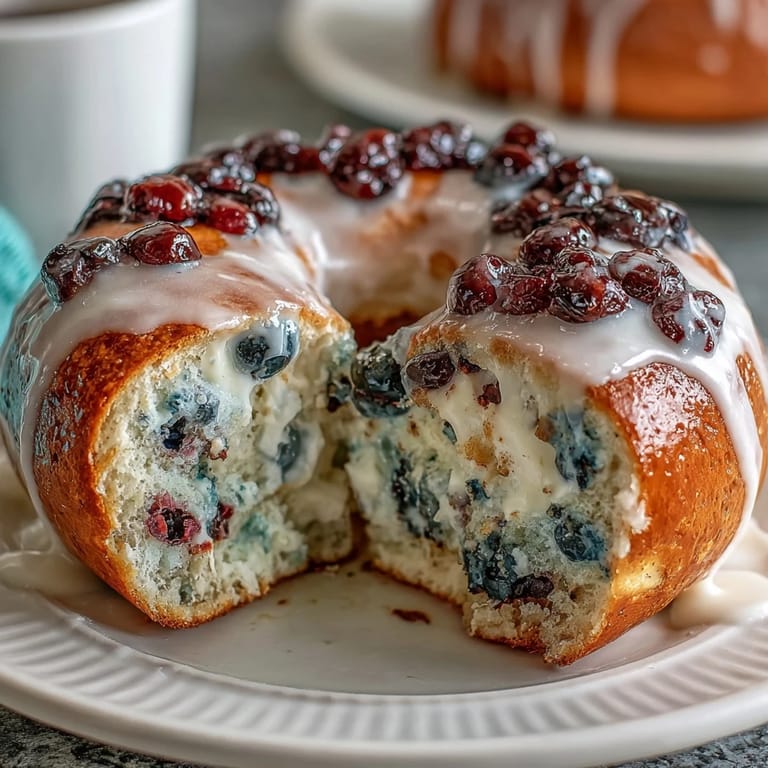
 There's something almost magical about pulling warm bagels from the oven on a quiet Sunday morning—the kind of moment where your kitchen smells like a New York bakery and you're suddenly convinced you've unlocked some secret skill. I stumbled into these blueberry protein bagels by accident, really, after a friend complained that she wanted something hearty enough to fuel a workout but delicious enough to feel like a treat. That conversation led to months of tweaking, burned bottoms, undercooked centers, and finally, this version that somehow manages to be both indulgent and genuinely good for you.
I'll never forget the first time I made these for a small brunch gathering—I was genuinely nervous about whether homemade bagels would hold up against store-bought expectations. But watching people's faces light up when they bit into the tender crumb and tasted that subtle tang from the lemon glaze? That's when I knew this recipe had become something special, something worth sharing and perfecting.
Ingredients
- Bread flour: This is the backbone of chewy bagels; all-purpose won't give you quite the same structure and chew.
- Vanilla protein powder: Choose whey or plant-based depending on your dietary preference—it adds substance without making the bagels taste like a gym smoothie.
- Instant dry yeast: Fresh or instant works fine here; just make sure it's not expired or your dough won't rise as beautifully.
- Warm water: Too hot and you'll kill the yeast, too cold and nothing happens—aim for that comfortable bathwater temperature around 110°F.
- Fresh or frozen blueberries: Don't thaw frozen ones; they'll bleed into the dough and turn it gray, which tastes fine but looks less appetizing.
- Honey or maple syrup for boiling: This is optional but worth it—it helps create that glossy, chewy crust that makes bagels feel authentic.
- Lemon juice and zest: Fresh lemon is non-negotiable here; bottled juice will taste bitter and flat compared to the real thing.
Tired of Takeout? 🥡
Get 10 meals you can make faster than delivery arrives. Seriously.
One email. No spam. Unsubscribe anytime.
Instructions
- Combine your dry ingredients:
- In a large bowl, whisk together bread flour, protein powder, sugar, salt, and yeast, making sure everything is evenly distributed so you don't end up with clumps of protein powder in your finished bagels. This takes just a minute and makes a real difference in texture.
- Bring the dough together:
- Pour in the warm water and melted butter, then stir with a wooden spoon until you have a rough, shaggy dough that looks a bit reluctant to come together. Don't worry—that's exactly what you want at this stage.
- Knead until smooth:
- Either by hand or with a stand mixer fitted with a dough hook, knead for 8–10 minutes until the dough becomes smooth, elastic, and slightly tacky but not sticky to the touch. You'll feel the transformation happen under your hands—suddenly it goes from rough to silky, and that's your signal to stop.
- Fold in the blueberries:
- Gently press the blueberries into the dough and fold the dough over itself until they're distributed throughout without getting crushed into oblivion. A few of them will still break and stain the dough purple, and that's perfectly fine and actually quite pretty.
- Let it rise:
- Shape the dough into a ball, place it in a lightly greased bowl, cover loosely with a damp towel, and let it sit in a warm spot for about 1 hour or until it's roughly doubled in size. A sunny windowsill works beautifully, or the inside of an oven with just the light on.
- Shape your bagels:
- Punch down the dough, divide it into 8 equal pieces (a kitchen scale is your friend here), and roll each piece into a tight ball before poking your thumb through the center to create that classic bagel hole. Stretch gently around the edges to form a nice ring shape, about 3 inches in diameter, with a hole roughly the size of a dime in the middle.
- Second rise:
- Place the shaped bagels on a parchment-lined baking sheet, cover them lightly, and let them rest for 15 minutes while you get everything else ready. They'll puff up slightly but shouldn't double in size—you want them to have structure for the boiling step.
- Prepare the boiling water:
- Bring 8 cups of water to a gentle boil in a large pot, stirring in honey or maple syrup if you're using it for that extra sheen and subtle sweetness. The water should be actively bubbling but not violently—you want a gentle boil that won't deflate your bagels.
- Preheat the oven:
- Get your oven to 400°F while you're working; it should be fully preheated before your bagels go in.
- Boil the bagels:
- Working with 2–3 bagels at a time so you don't crowd the pot, gently lower them into the boiling water and cook for 1 minute per side—they'll sink at first, then bob to the surface when they're nearly done. Use a slotted spoon to flip them and remove them; they'll feel fragile and tender but will firm up as they bake.
- Bake until golden:
- Return the boiled bagels to your baking sheet and slide them into the preheated oven for 20–25 minutes, until the tops are deep golden brown and the bagels sound hollow when you tap them. The kitchen will smell absolutely incredible at this point—don't be surprised if you're tempted to eat one immediately.
- Make the lemon glaze:
- While bagels cool on a wire rack, whisk together powdered sugar, fresh lemon juice, lemon zest, and just enough milk or water to create a consistency that flows like honey but isn't runny. You want it thick enough to coat but thin enough to drizzle.
- Glaze and serve:
- Once the bagels are completely cool, drizzle the glaze over the tops and let it set for a few minutes before serving. If you can wait that long, that is.
 Save to Pinterest
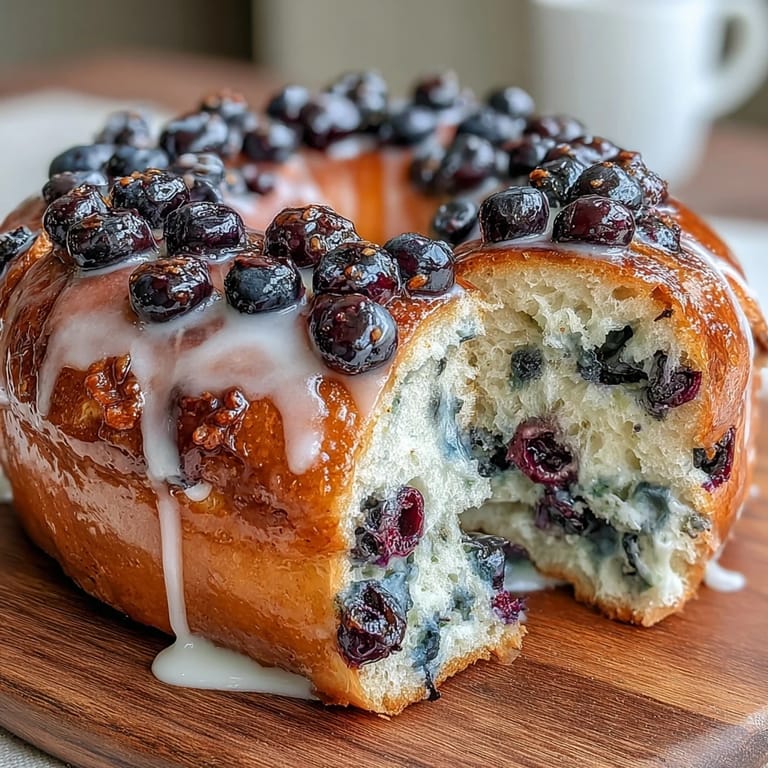
 There was a moment during one particularly long weekend when I'd made these bagels, and my neighbor stopped by just as I was glazing them fresh from cooling. The look of pure joy on her face when she bit into one—that balance of protein-packed nutrition meeting genuine bakery-level taste—made me realize this recipe had transcended the original mission. It became something people actually wanted to eat, not just something that was theoretically good for them.
The Boiling Secret
The boiling step is what transforms these from bread rolls into legitimate bagels, and it's actually simpler than it sounds. The hot water sets the outside, creating that signature chewy crust while keeping the inside tender and open-crumbed, which is why professional bagels always have that slightly different texture from regular bread. I learned this the hard way after my first batch came out looking gorgeous but tasting more like enriched bread than bagels—now I never skip it, even when I'm rushing.
Protein Powder Matters More Than You'd Think
Not all protein powders are created equal, and this is one area where quality really shows. A chalky, bitter powder will translate directly into your finished bagels, while a smooth vanilla powder basically disappears into the background, boosting nutrition without changing flavor. I've tested this extensively, and vanilla whey and plant-based blends both work beautifully—just avoid anything with a strong artificial sweetener taste, since that can become unpleasant when concentrated in baked goods.
Storage and Make-Ahead Magic
These bagels are wonderfully forgiving when it comes to storage, which means you can make a full batch on the weekend and enjoy them all week without them turning stale. Once completely cool, wrap them tightly and freeze for up to three weeks; thaw at room temperature for a few hours or pop them in a 350°F oven for 10 minutes to refresh them back to almost-fresh condition. If you want to glaze them before freezing, that works too, though the glaze will soften slightly—I usually prefer to thaw and glaze fresh so they look their absolute best.
- Wrap each cooled bagel individually in plastic wrap before freezing so you can pull out exactly what you need.
- Toasting a frozen bagel in a toaster oven works better than a regular toaster since they're thicker than typical bagels.
- These are perfect paired with cream cheese, smoked salmon, or eaten plain with a cup of coffee if you're in the mood for something less fussy.
 Save to Pinterest
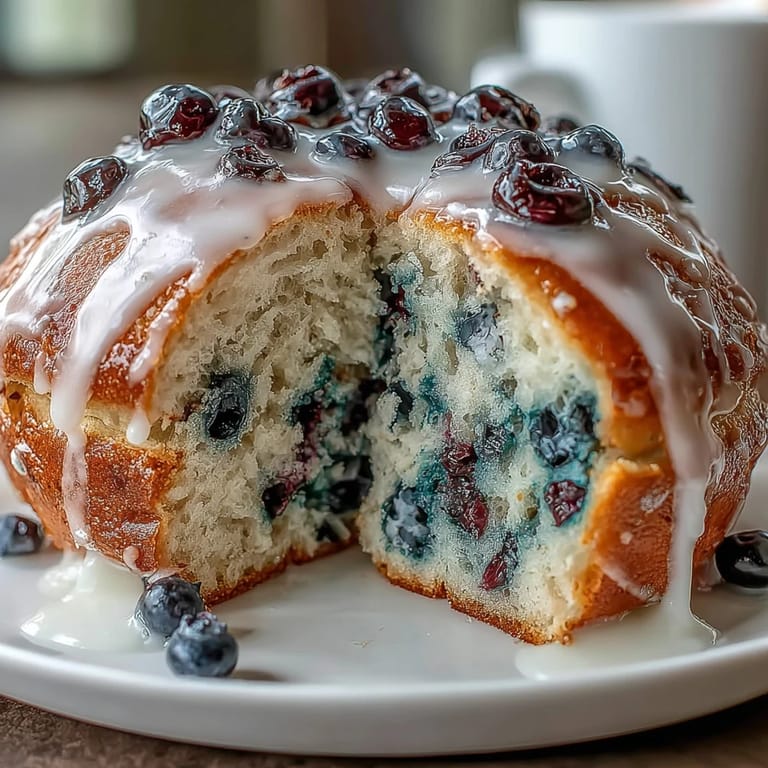
 These bagels have become my go-to when I want to feel proud of what I've made while actually nourishing myself at the same time. That combination of genuine indulgence and real nutrition is what keeps me coming back to this recipe, over and over.
Common Recipe Questions
- → How do I ensure the bagels are soft and chewy?
Knead the dough until smooth and elastic, and boil the bagels briefly before baking. This process sets the crust and creates a chewy texture.
- → Can I use frozen blueberries in this dough?
Yes, frozen blueberries work well without thawing; folding them gently into the dough helps distribute them evenly.
- → What does the lemon glaze add to the bagels?
The glaze provides a bright, tangy contrast that enhances the sweetness of the blueberries and adds a refreshing citrus note.
- → Is there a way to increase the protein content further?
Swapping some of the water for Greek yogurt in the dough can boost protein while keeping the texture moist.
- → How should I store these bagels to maintain freshness?
Store cooled bagels in an airtight container at room temperature for up to two days or freeze them for longer storage.