 Save to Pinterest
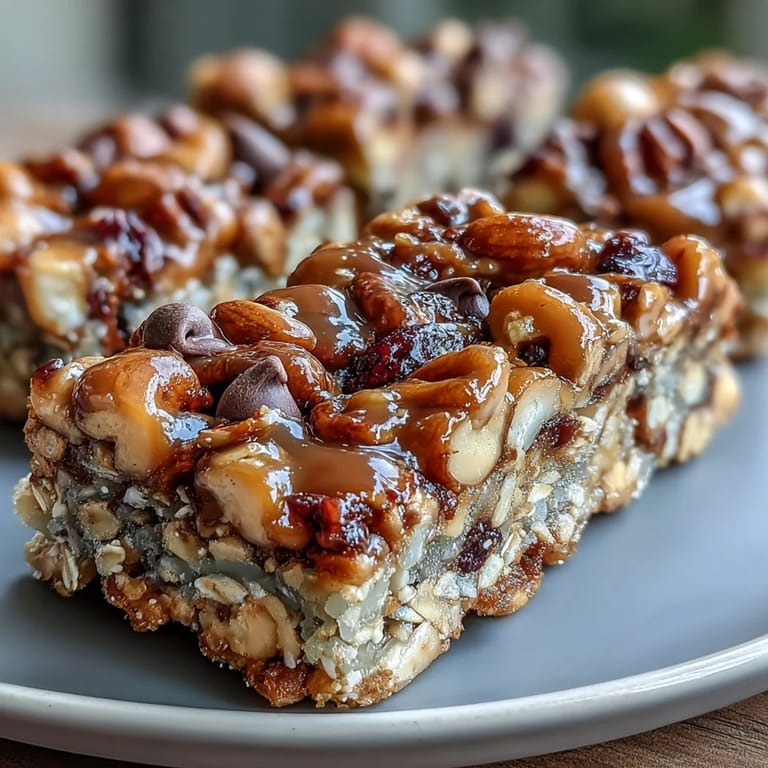
 One rainy afternoon, I was standing in my kitchen staring at a half-empty jar of honey and a box of oats, wondering what to do with them. My daughter had just asked for something she could toss into her backpack before soccer practice, something better than the store-bought granola bars she'd been eating. That's when it clicked—why not make something homemade that actually tasted like real food, with stuff I could recognize? These trail mix bars were born from that moment of necessity, and they've become the snack I make when I want to feel like I'm actually taking care of people.
I'll never forget when my friend Sarah bit into one of these and got this surprised look on her face, like she couldn't believe something so good had come from my oven. She asked if they were store-bought, and when I told her I'd made them that morning, she demanded the recipe on the spot. Now she makes a batch every Sunday, and her kids actually ask for these instead of the sugary stuff most parents deal with.
Ingredients
- Old-fashioned rolled oats (2 cups): These are the backbone—they give you that chewy texture and real wholesome feeling. Avoid instant oats; they break down and turn mushy.
- Mixed nuts (1/2 cup, chopped): Almonds, walnuts, pecans—whatever you have works, and chopped small means they distribute evenly so every bite counts.
- Seeds (1/3 cup sunflower or pumpkin): They add crunch and protein, plus they're cheaper than buying fancy superfood blends.
- Dried fruit (1/2 cup cranberries or raisins): These stay chewy and sweet throughout baking, holding the bars together like little flavor bombs.
- Mini chocolate chips (1/4 cup, optional): I skip these when I want to keep things less sweet, but they're wonderful if you're making these for people with a real sweet tooth.
- Honey (1/3 cup): This is what makes them stick together and stay moist—don't skimp on quality here because it's doing real work.
- Unsalted butter (1/4 cup): It melts into the honey and creates this glossy coating that makes everything feel luxurious.
- Light brown sugar (1/4 cup, packed): It adds moisture and a deeper sweetness that regular sugar wouldn't bring.
- Vanilla extract (1/2 tsp) and salt (1/4 tsp): These tiny amounts wake everything up, making the flavors pop instead of tasting flat.
Tired of Takeout? 🥡
Get 10 meals you can make faster than delivery arrives. Seriously.
One email. No spam. Unsubscribe anytime.
Instructions
- Set yourself up for success:
- Preheat your oven to 350°F and line an 8-inch square pan with parchment paper, letting it hang over the edges like little handles. This is how you'll pull these bars out cleanly later without any crumbling drama.
- Combine your dry ingredients:
- Toss the oats, nuts, seeds, dried fruit, and chocolate chips into a large bowl and give everything a good stir. You want it mixed enough that the smaller ingredients are scattered throughout, not piled in one corner.
- Make the binding liquid:
- In a small saucepan, melt the butter, honey, and brown sugar together over medium heat, stirring until it's smooth and glossy like caramel. Take it off the heat and stir in the vanilla and salt—you should smell something warm and inviting at this point.
- Bring it all together:
- Pour that golden mixture over your dry ingredients and mix until everything looks coated and shiny. This is when your kitchen starts smelling like a bakery, which is always a good sign.
- Pack it into the pan:
- Spread the mixture into your prepared pan and press down firmly with a spatula or your hands (I use the back of a measuring cup for even pressure). You want it compacted enough that the bars will hold together, but not so tight it becomes dense.
- Bake until golden:
- Slide it into the oven for 18 to 20 minutes, watching until the edges turn a light golden brown. The center might still look slightly soft—that's perfect.
- Cool and cut:
- Let the whole pan cool completely on a wire rack (this takes about 15 minutes), then use the parchment to lift it out. Cut into 12 bars with a sharp knife, wiping the blade clean between cuts if it gets sticky.
 Save to Pinterest
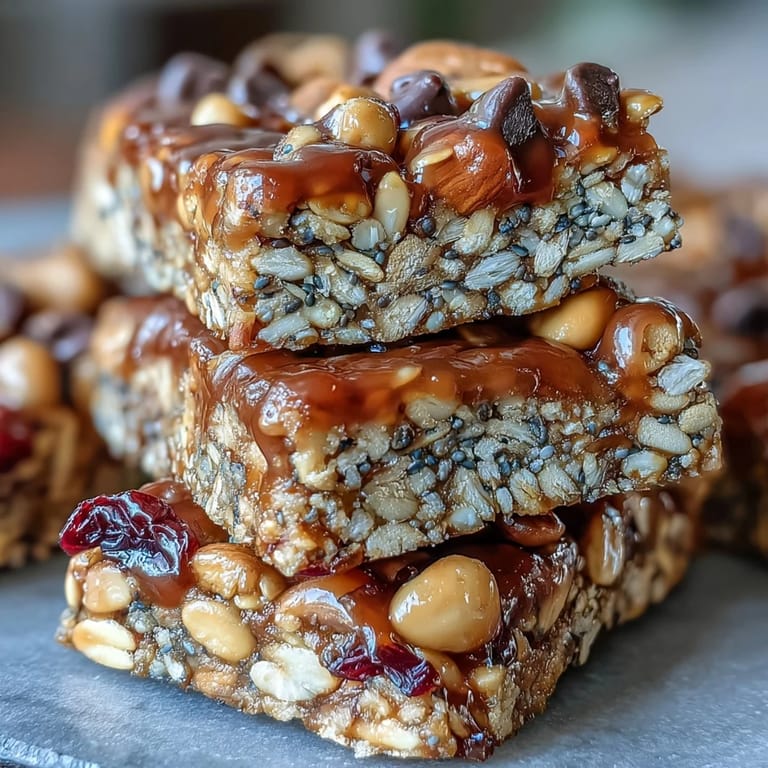
 There's something almost meditative about these bars that goes beyond being just a snack. My son started taking them to school and came home saying kids were actually asking what he was eating, wanting to trade their sad conventional snacks for his homemade ones. That's when I knew this recipe had become something more than a quick breakfast fix—it was the kind of small thing that makes kids feel cared for.
Why These Bars Beat Store-Bought Every Time
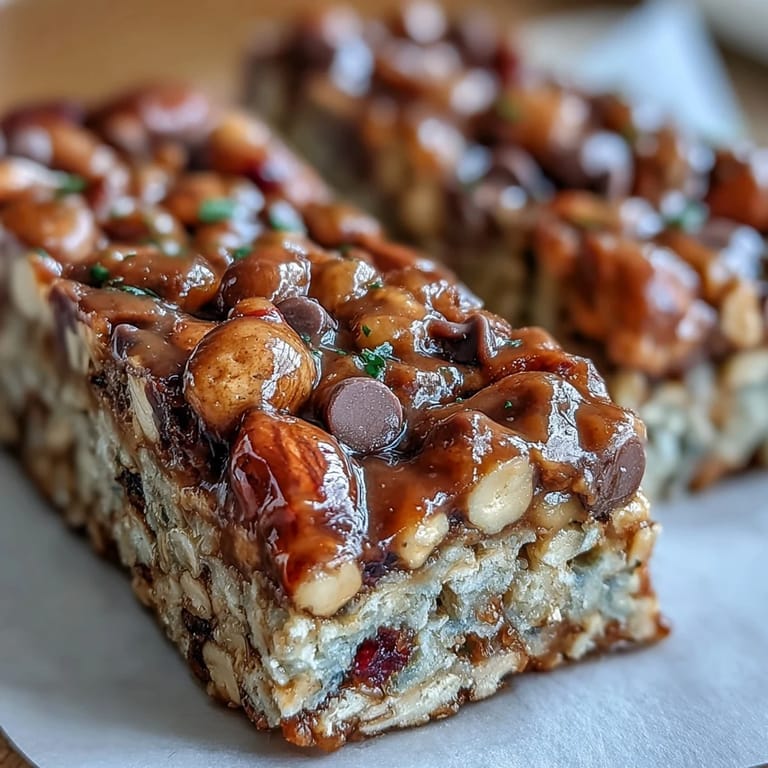
The difference between homemade and commercial is the honey. It makes these bars stay chewy for days instead of turning into hockey pucks, and it's a sweetness that feels clean, not processed. Plus, you actually know where every ingredient came from, which sounds simple but means everything when you're feeding people you care about.
Storage and Keeping Them Fresh
Store these in an airtight container at room temperature and they'll stay chewy for up to a week, though I've never had them last that long. If you want to make a big batch for the month ahead, they freeze beautifully—just thaw them for 10 minutes before eating.
Make Them Your Own
The beauty of this recipe is that it's a template, not a command. I've made versions with shredded coconut instead of seeds, used maple syrup when honey wasn't around, and even swapped the chocolate chips for white chocolate once when I was feeling fancy. The structure stays the same, so you can play around without worrying about messing it up.
- Swap in any dried fruit—apricots, cherries, blueberries—whatever sounds good to you or what's on sale.
- Try toasted coconut, shredded or flaked, mixed in with the oats for a tropical twist.
- For a vegan version, use coconut oil instead of butter and maple syrup instead of honey, and everything works just as well.
 Save to Pinterest
 These bars remind me that sometimes the best food is the easiest—just good ingredients and a little attention, nothing complicated. Make a batch this weekend and see what happens when you have something actually wholesome ready to grab.
Common Recipe Questions
- → Can I substitute the nuts in the mix?
Yes, you can swap mixed nuts for your favorites like pecans, almonds, or walnuts depending on taste or dietary needs.
- → Are these bars suitable for a vegan diet?
For a vegan version, replace butter with coconut oil and honey with maple syrup to keep the same texture and sweetness.
- → How do I store the bars to keep them fresh?
Store bars in an airtight container at room temperature for up to one week to maintain their chewiness and flavor.
- → Can I add chocolate chips to the bars?
Yes, mini chocolate chips can be added to the dry mix before baking for a subtle chocolate touch.
- → Is it possible to make the bars gluten-free?
Use certified gluten-free oats and chocolate chips, if included, to ensure the bars are gluten-free.