 Save to Pinterest
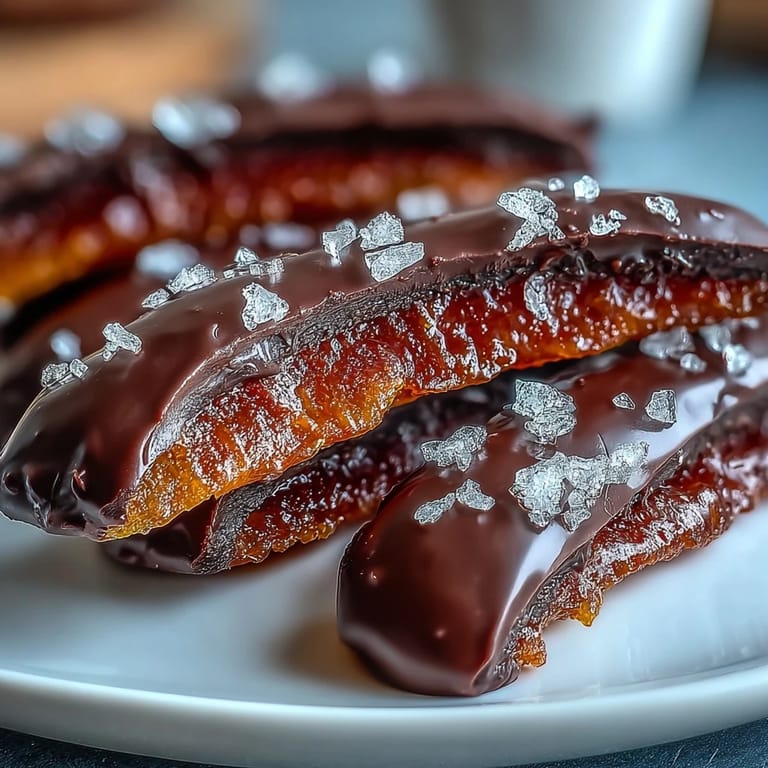
 There's something about the smell of oranges simmering in sugar that makes you feel like you've stepped into a Parisian candy shop, even if you're just standing in your own kitchen on a Tuesday afternoon. I discovered these candied peels years ago when a friend left a tin of them on my counter, and after one bite of that bittersweet chocolate shell giving way to the tender, glossy peel inside, I became obsessed with making my own. What started as a weekend project turned into my go-to gift for people I actually care about, because there's something undeniably thoughtful about homemade confections wrapped in tissue paper. The best part is how forgiving this recipe is once you understand the rhythm of it, and how absolutely worth the wait those final two hours become.
I made these for my sister's engagement party once, packed them in little kraft boxes with hand-drawn labels, and watched them disappear before dessert was even served. People kept asking me where I'd bought them from a fancy shop, and when I admitted I'd made them, they looked at me like I'd performed some kind of culinary magic. That's when I realized these peels aren't just candy—they're a conversation starter, a moment of genuine delight, the kind of thing that makes someone feel truly seen.
Ingredients
- 4 large organic oranges: Organic matters here because you're eating the peel, so pesticides are a real consideration; thick-skinned varieties like Valencia or Navel oranges work best because they have enough pith to stay sturdy through the cooking process.
- 2 cups granulated sugar: This sweetens the syrup and eventually coats your peels with that glistening, candied finish; don't skimp on quality here because you'll taste every granule.
- 1 cup water: Just enough liquid to create a gentle syrup that slowly infuses the peels without drowning them; the ratio matters because too much water means longer cooking time.
- 7 oz high-quality dark chocolate (70% cocoa or higher): This is non-negotiable—cheap chocolate will seize, bloom, and taste waxy; splurge on something you'd actually eat on its own because that's exactly what you're doing when you dip these peels.
- Extra granulated sugar, for coating (optional): If you want that sparkling, rock-candy appearance that catches the light, this step transforms them from elegant to absolutely show-stopping.
Tired of Takeout? 🥡
Get 10 meals you can make faster than delivery arrives. Seriously.
One email. No spam. Unsubscribe anytime.
Instructions
- Prepare your oranges:
- Wash them under warm water and dry them thoroughly—any moisture left on the skin will dilute your syrup later. Score the peel into quarters with a sharp knife and gently pry it away, trying to keep as much of that white pith attached as possible because it's actually what gives the candy its body and chewiness.
- Slice into strips:
- Cut your peels lengthwise into quarter-inch strips, aiming for consistency so they cook evenly. Don't stress if some are slightly thicker than others; they'll still candy beautifully, just at slightly different rates.
- Blanch away the bitterness:
- Place the strips in a saucepan, cover with cold water, and bring to a rolling boil, then drain immediately. Repeat this process two more times—this is the secret to peels that taste citrusy rather than aggressively bitter, and honestly, skipping even one blanch will make you regret it.
- Build your syrup:
- Combine 2 cups sugar and 1 cup water in a clean saucepan and bring to a gentle simmer, stirring until the sugar completely dissolves. The clarity of your syrup matters because you're not just sweetening the peels, you're creating a glossy coating that will eventually peek through the chocolate.
- Simmer with patience:
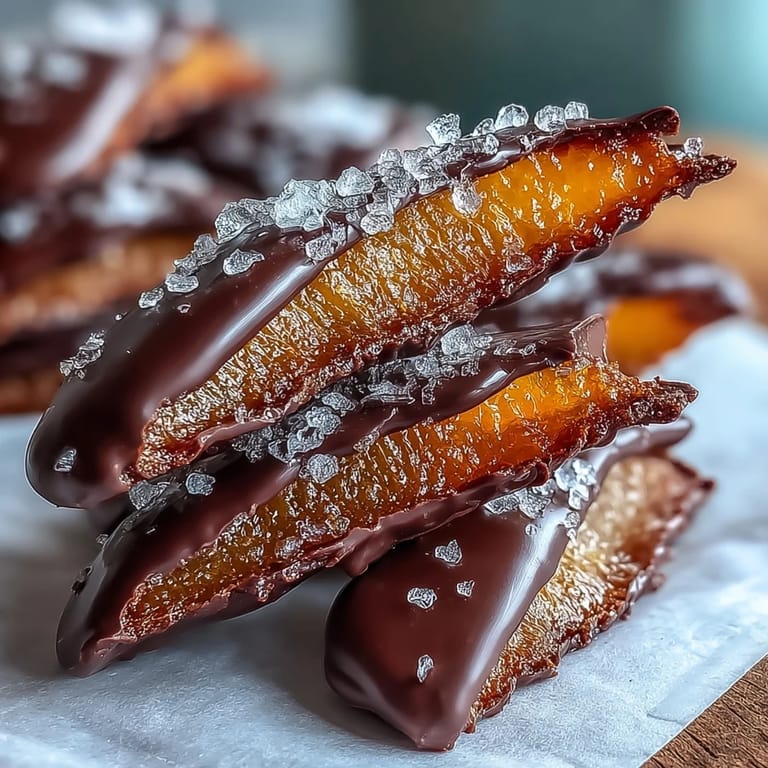
- Add your blanched peels and let them simmer gently over low heat for 45 to 60 minutes, stirring occasionally and watching as they gradually transform from opaque to translucent. This is the meditative part of the process—resist the urge to turn up the heat because slow and steady is how you get tender peels that don't fall apart.
- Drain and dry:
- Using tongs or a slotted spoon, transfer the peels to a wire rack set over parchment paper and leave them undisturbed for at least an hour until they're completely dry and no longer sticky. This is a good time to clean up your kitchen or do literally anything else because patience here prevents sticky chocolate disasters later.
- Add sparkle (optional but recommended):
- If you want that jewel-like, rock-candy finish, toss your dried peels in extra granulated sugar right before the chocolate step. It adheres beautifully to the candied surface and looks absolutely stunning.
- Melt chocolate carefully:
- Create a double boiler by setting a heatproof bowl over a saucepan of barely simmering water (the bowl shouldn't touch the water), and melt your dark chocolate slowly, stirring often until it's completely smooth. This gentle method prevents your chocolate from seizing or becoming grainy, which is absolutely devastating when you're so close to the finish line.
- Dip with precision:
- Hold each candied peel by the top edge and dip it halfway into the melted chocolate, letting excess drip off for just a second, then place it on fresh parchment paper. Half-dipping looks intentional and elegant, plus it lets you appreciate the candied peel from certain angles.
- Set and store:
- Allow the chocolate to set at room temperature for about 30 minutes or in the refrigerator for about 10 minutes, then transfer to an airtight container where they'll keep beautifully for up to two weeks. They're best eaten within the first few days when the contrast between textures is most pronounced.
 Save to Pinterest
 I remember opening a tin of these at a winter dinner party and watching the room go quiet for just a moment—everyone reaching for one, taking a bite, and then that little pause of genuine pleasure before someone asked for the recipe. That's when I knew these weren't just candy; they were small edible moments of care and attention, proof that slowing down actually produces something worth savoring.
The Art of the Blanch
Most people skip this step or do it halfheartedly, and that's exactly when the recipe falls flat. Those three blanches aren't bureaucratic busywork—they're actually pulling out the oils and compounds that make orange peel taste aggressively bitter on its own. By the third drain, the water should be nearly clear, and that's your sign you've done it right. The peels will taste brighter, more citrusy, and infinitely more pleasant to eat because you've given them a fresh start.
Why Slow Simmering Changes Everything
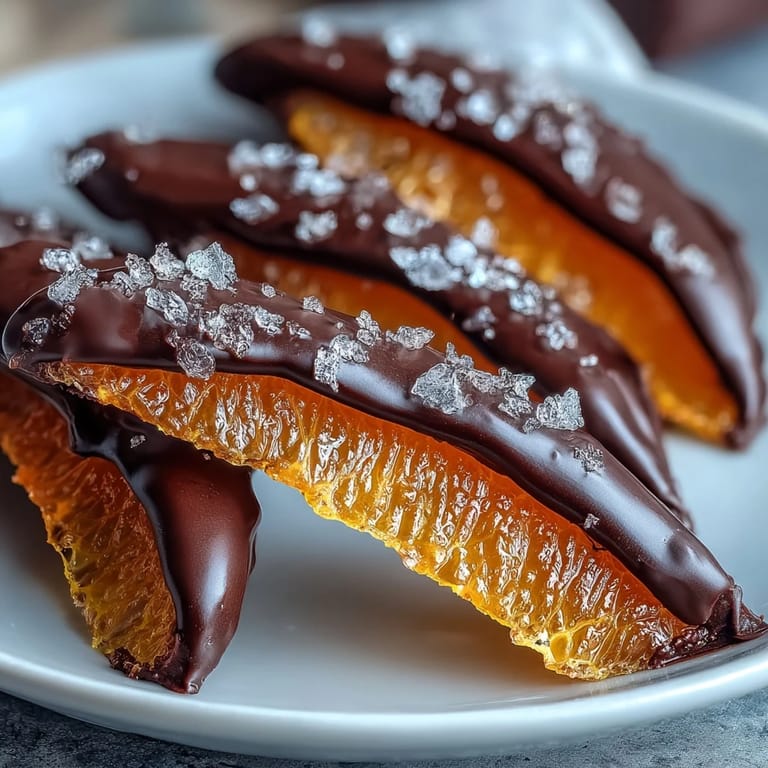
There's a real temptation to turn up the heat and finish the simmering phase faster, but resist it completely. When you keep the temperature low and gentle, the peels gradually absorb the sugar syrup and become translucent from the inside out—you can actually see the light passing through them, which is both visually stunning and a sign that they've properly candied. High heat just firms them up on the outside while leaving the interior tough, which defeats the entire purpose of this project.
Chocolate Selection and Dipping Strategy
This is where quality genuinely matters, so buy chocolate from a brand you'd eat straight from the bar. The cocoa percentage determines how bitter your coating will be—70% is the sweet spot for cutting through the sweetness of the candied peel, but if you love chocolate, go for 80% or even 85%. When you're dipping, half immersion creates a beautiful visual ratio and lets you taste both the candy and the chocolate in every bite, which is really what this is all about.
- If your chocolate starts to thicken while you're dipping, briefly reheat it over the warm water without letting it get too hot.
- Make sure your candied peels are completely dry before dipping, or the chocolate will bead up and refuse to stick properly.
- Work quickly but calmly—rushing leads to overly thick coatings and chocolate drips that slide right off the peel.
 Save to Pinterest
 These candied peels remind me that some of the best things really do take time, and that's precisely what makes them worth giving to people you care about. There's genuine love in a homemade confection, and everyone who tastes these will know you made them with actual attention.
Common Recipe Questions
- → How do you reduce bitterness in orange peel?
Blanch the orange peels by boiling and draining them three times before candying to remove excess bitterness and soften the peel.
- → What type of chocolate works best for dipping?
High-quality dark chocolate with at least 70% cocoa provides a rich, balanced flavor that complements the citrus sweetness.
- → How long should the candied peels dry before dipping?
Allow candied peels to dry on a wire rack for at least one hour until they are no longer sticky for optimal chocolate adhesion.
- → Can I add flavor variations to the candying syrup?
Yes, adding spices like cinnamon sticks or cloves while simmering infuses subtle aromatic notes; remove before drying.
- → What is the best way to melt chocolate for dipping?
Melt chocolate gently using a double boiler method, stirring until smooth to avoid burning and ensure even coating.